How to Customise Booth Prints for Your Event
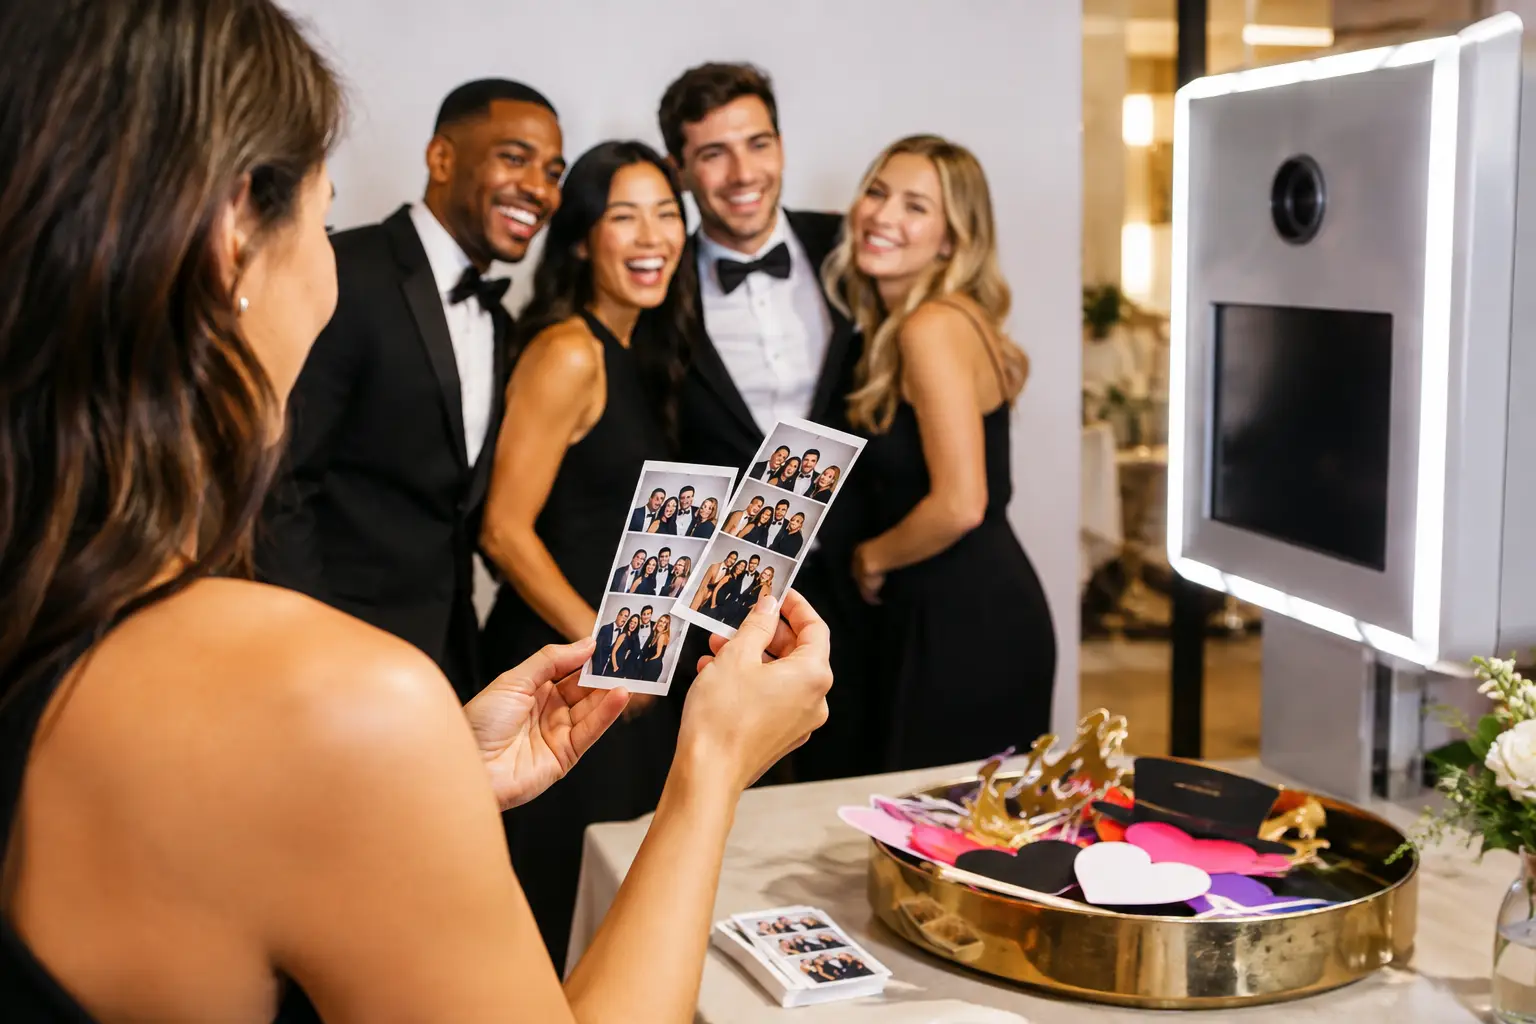
A personalised photo booth print gives guests something that belongs to your event. It might carry your wedding names, a birthday message or company branding. Knowing how to customise booth prints starts with a clear brief, suitable artwork and a careful check of the final design.
You do not need to arrive with a finished template. A few accurate details and a useful visual reference can give your supplier enough direction to prepare a design. The important part is confirming what your booking includes and approving the details before the event.
1. Confirm the print options included in your booking
Before choosing a design, check that your selected package includes printing. Ask which print formats and photo layouts are available, and whether personalisation is included or quoted separately.
A booth’s appearance does not automatically determine its print layout. A Selfie Pod, Magic Mirror or Retro Mirror may offer different options depending on the setup and package. Confirm the actual choices before preparing artwork around a particular size.
Also discuss how you want guests to use their prints. A sequence of photographs might suit friends changing poses. A larger photo area may be more useful for families or colleagues. If prints will go into a guest book, mention that before the layout is agreed.
If you are still choosing a visual style, our custom event print template ideas guide covers design inspiration for weddings, parties and corporate celebrations.
2. Send a short, clear design brief
A useful brief explains the occasion, the wording and the overall style. It does not need to be a lengthy document.
Include:
- The event name and date.
- The exact names or wording you want printed.
- Your preferred colours.
- A reference image, invitation or brand guide, if available.
- Any logo or monogram to include.
- Your preferred layout, subject to the available options.
For a wedding, write both names exactly as they should appear. Decide whether you want first names, full names or a short heading, and whether the date should use words or numbers.
For a birthday, confirm whether the design should include the age. For a prom, check the school name and year. Small decisions like these are easier to settle in writing than through several different messages.
Our wedding photo booth service allows you to discuss the print design alongside the booth and the wider reception plans.
3. Supply artwork that can be used clearly
If the design includes a logo, send the original artwork where possible. A designer can usually work more effectively with a vector file or a suitable high-resolution image than with a screenshot.
A PNG with a transparent background can be useful, but ask your supplier which formats they accept. Avoid downloading a small logo from a social profile if a better version is available from your company or designer.
For corporate events, provide the approved logo version and any relevant colour or typography guidance. Explain whether the print is for a staff celebration, conference or product launch, as the wording may differ.
Before sending several partner logos, discuss how they can fit without reducing the photo area too much. Our corporate photo booth service can help coordinate the print design with the event branding.
4. Check the layout with photographs in place
An empty template can make a design look more spacious than it will once photographs are added. Ask to review a sample with images in the photo windows.
Look at the balance between the photographs and the surrounding artwork. Faces should remain clear, while names, dates and logos should have their own readable space.
Think about who will use the booth. A layout that looks good with two people may feel crowded with a larger group. This does not mean every print needs one large image, but the layout should suit the photographs you expect guests to take.
Check the positions of text and graphics too. An overlay that crosses into the photograph may cover part of an outfit or face. A decorative border should frame the image without taking away too much usable space.
5. Review the proof at its intended size
A design can look sharp on a laptop and still contain wording that is too small on the finished print. View the proof at the size guests will receive, rather than only zooming in.
Read every piece of text carefully:
- Are the names and event title spelled correctly?
- Is the date correct?
- Have any accents, initials or punctuation been missed?
- Is the logo clear and the correct version?
- Can the smaller wording be read comfortably?
- Are important details within the template’s safe area?
If a physical sample is available, it can help you judge readability and colour. Screens and printed materials may display colours differently, so discuss any colour that is especially important to your event or brand.
6. Confirm whether digital images need a matching design
Printed photographs and digital images may use different layouts. If you want a matching design for images guests download or share, mention it before approval.
Ask which parts of the design will carry across and whether a separate digital version is needed. A print border should not simply be stretched or cropped into another format if that makes the wording difficult to read.
For a corporate event, this is also the time to check that the logo and campaign message are consistent across the planned outputs. Review each version that matters to your booking.
7. Agree on one person to approve the design
Choose one person to collect feedback and approve the final proof. At a wedding, that may be one of the couple. For a company event, it may be the organiser after checking with the brand team.
Consolidated feedback is easier to follow than separate messages containing different instructions. If changes are needed, put them into one clear list and identify the version you are reviewing.
Ask your supplier when the final approval is required. Allow time for checking and revisions, especially if several people need to review company branding. Avoid assuming that artwork can be changed on the morning of the event.
8. Make the final approval unambiguous
Once you are happy, confirm in writing that the design is approved. Refer to the latest proof so an older version cannot be mistaken for the final one.
If you request a change afterwards, ask for an updated proof and check it again. A small wording adjustment can affect spacing, so it is worth reviewing the complete design rather than only the changed line.
Keep the final approved file or confirmation somewhere easy to find. It gives you and the supplier a shared reference for what guests should receive.
Bring your event details together
Customising booth prints is easier when the brief is clear and the approval process is organised. Confirm the available format, send accurate wording and suitable artwork, then check the proof with photographs in place.
Gatwick Sound Photo Booth can help you discuss personalised prints for weddings, parties, proms and corporate events across London, Sussex, Surrey and Kent.
Share your date, venue and design ideas when you Get a Quote, and we can discuss the options for your booking.