
Wedding Photo Booth Venue Checklist: Space, Access and Timing
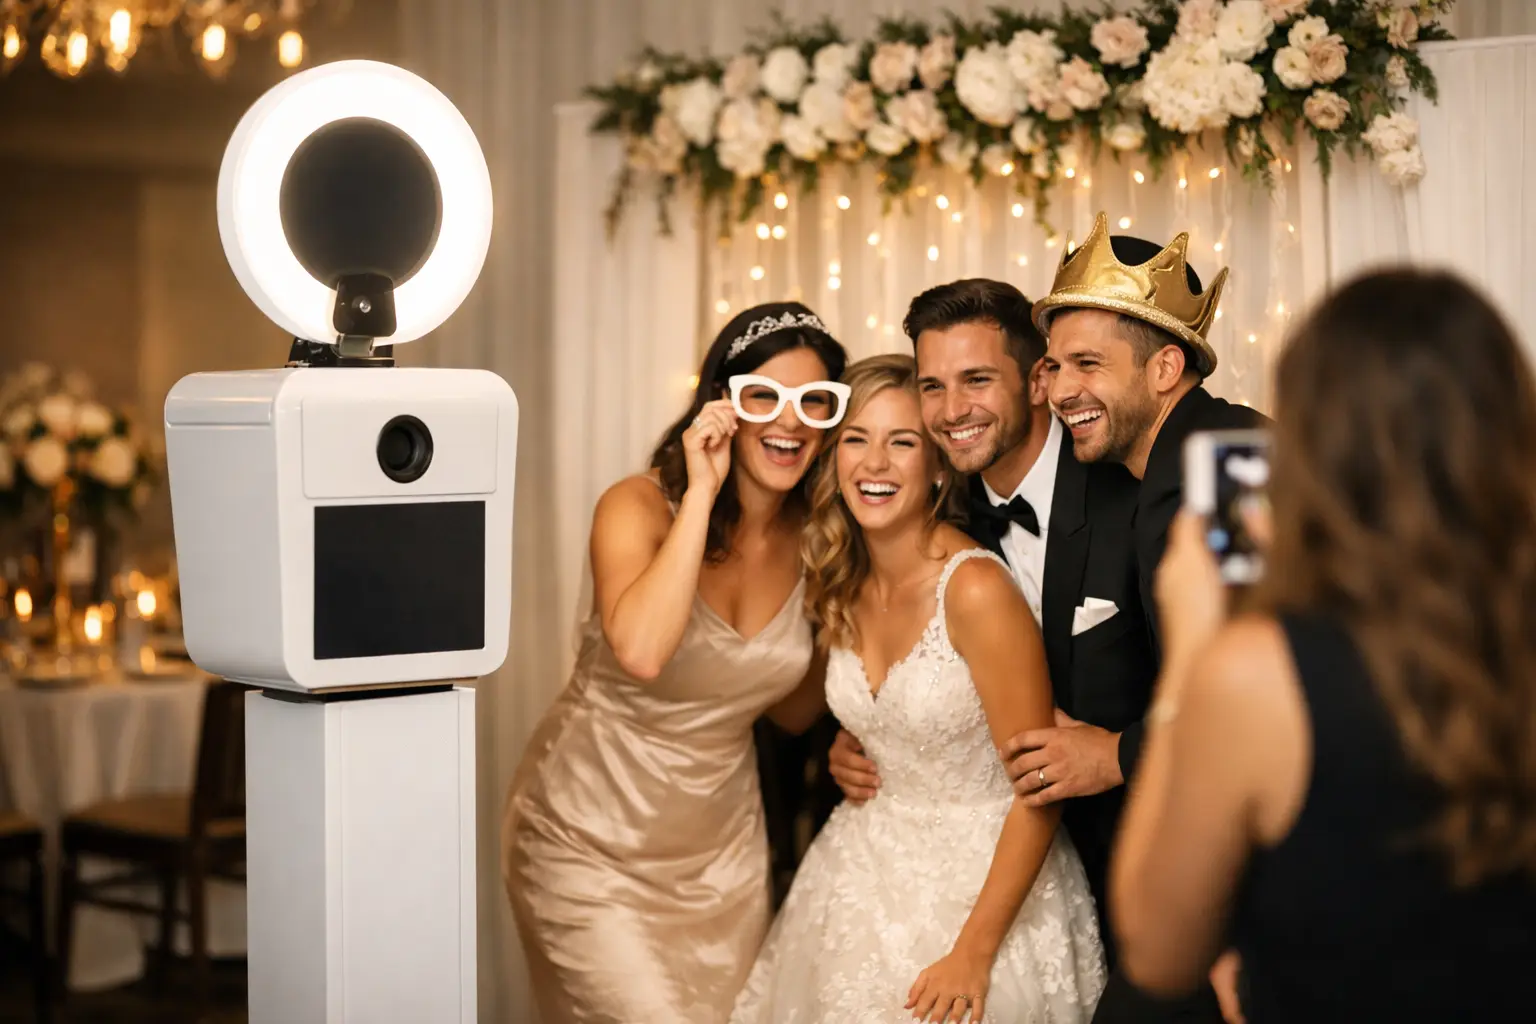
A photo booth may look suitable in a brochure but still create practical problems inside a real wedding venue. Narrow doors, stairs, limited setup times and a crowded floorplan can all affect the booking.
A wedding photo booth venue checklist helps couples confirm the important details before choosing a booth. It also gives the supplier enough information to recommend a suitable format and position.
The earlier these questions are answered, the easier it becomes to plan a booth that looks right, operates safely and fits naturally into the reception.
Speak to the venue before confirming the booth
Wedding venues have different rules for external suppliers. Some provide easy access and flexible setup times. Others use controlled delivery periods, shared entrances or rooms that change purpose during the day.
Ask the venue:
- whether external photo booth suppliers are permitted;
- when the supplier can enter the building;
- where equipment can be unloaded;
- whether parking is available;
- if stairs or lifts are involved;
- when the booth must be removed; and
- which documents the supplier needs to provide.
Do not assume that setup can begin as soon as the wedding breakfast finishes. The venue team may need time to clear tables, prepare the dance floor or move furniture.
Check the complete installation route
The booth must travel from the supplier’s vehicle to the final setup position. The route can be more important than the size of the room itself.
Check for:
- steps and staircases;
- narrow corridors;
- small or restricted lifts;
- tight doorways;
- gravel paths;
- uneven outdoor surfaces;
- distance from the unloading area; and
- locked or controlled access points.
Larger mirrors and statement booths may require more careful access planning. A compact Selfie Pod can sometimes be more suitable for an upstairs room or venue with narrow entrances.
Send photographs or a short video of the route if the supplier cannot visit the venue in advance. Include measurements where access appears particularly tight.
Measure the usable space
A venue’s advertised capacity does not tell you how much floor space will remain during the reception. Tables, chairs, bars, catering stations and the dance floor can reduce the available area.
The booth requires space for more than the equipment. Allow room for:
- guests posing for photographs;
- small groups waiting;
- the booth attendant;
- a backdrop where required;
- print collection;
- a guestbook station; and
- clear movement around the setup.
Ask the venue for a floorplan showing the evening layout. Mark the booth position and check that it does not obstruct fire exits, staff routes or access to other entertainment.
Choose a position guests will notice
A booth performs best when guests can see it during the social part of the reception. A hidden side room may reduce participation, even when signs are displayed.
Good positions often include:
- a space between the bar and dance floor;
- a reception area used by evening guests;
- a natural transition point between rooms; or
- a visible section of the main evening space.
Avoid placing the booth directly beside a doorway or bar queue. Guests need room to gather without creating a bottleneck.
The booth should also remain far enough from loud speakers for guests and the attendant to communicate comfortably.
Confirm the power supply
Most photo booth setups need access to a standard power supply. The socket should be close enough to avoid running cables across guest routes.
Ask the venue to confirm:
- where the nearest socket is located;
- whether it shares power with other suppliers;
- if extension cables are permitted;
- how cables must be secured; and
- whether outdoor power is available for a marquee.
The DJ, caterer, lighting company and booth should not all depend on one unsuitable connection. Tell the venue about the complete entertainment plan so power requirements can be coordinated.
Check the flooring and surrounding area
The booth should stand on a clear and level surface. Uneven flooring may affect stability and guest comfort.
This requires particular attention in barns, marquees and outdoor structures. Temporary flooring should be installed securely and remain suitable if the weather changes.
Loose rugs, wet grass and heavily sloping surfaces are not appropriate installation areas. The supplier should know about these conditions before arriving.
Plan for marquees and outdoor spaces
A marquee can provide an attractive setting, but it creates additional practical questions.
Confirm:
- whether the sides will remain closed during operation;
- how the equipment will be protected from rain and moisture;
- whether the floor is level and stable;
- where power will come from;
- how cold or heat may affect the space; and
- whether the structure will be ready before setup begins.
Photo booth equipment should not be exposed to rain or unsafe weather. An outdoor plan needs a suitable sheltered alternative.
Consider the background of every photograph
The space behind the guests affects the finished images. A visually busy wall, fire exit or catering area can distract from the photograph.
Some venues provide an attractive natural background. In other cases, a backdrop creates a cleaner and more consistent result.
If using the venue as the background, check how it looks from the camera position rather than from the centre of the room. Small details can appear more noticeable in a photograph.
The wider guide to matching booth style to a venue explains how different booth formats and backdrops fit various event spaces.
Review the lighting at the operating time
A room can look completely different after sunset. The booth should continue producing clear and flattering photographs throughout the evening.
Ask whether the venue dims the main lights after dinner or uses coloured dance-floor lighting. The booth should have its own suitable lighting, but the surrounding conditions still matter.
Avoid placing the camera directly towards strong windows, mirrors or reflective surfaces without checking the likely result. These can create glare or inconsistent exposure.
Coordinate the booth with the wedding schedule
The booth does not need to operate throughout the entire wedding day. It will usually receive more attention once guests are free to move around.
Possible opening times include:
- during the drinks reception;
- after the wedding breakfast;
- when evening guests arrive;
- after the speeches;
- after the first dance; or
- when the evening entertainment begins.
Avoid opening the booth during a part of the day when guests are expected to remain seated or pay attention elsewhere.
Share the final schedule with the supplier. Mention speeches, cake cutting, the first dance and any room changes that could affect setup or operation.
Allow time for installation and testing
The supplier needs enough time to unload, assemble and test the booth before guests use it.
Setup should be completed without disturbing the ceremony, meal or formal photographs. If the booth is installed in the same room used for dinner, agree when the venue will make the area available.
Last-minute access can create pressure for the supplier and venue team. A realistic installation window allows time to check:
- camera and lighting;
- print design;
- digital settings;
- backdrop position;
- power and cables; and
- the guest journey.
Choose the booth after checking the venue
Once the practical details are clear, it becomes easier to select the format.
A Magic Mirror can provide a visible, full-length photography experience in a hotel, country house or formal reception area. However, it needs a suitable route and enough space around it.
A Selfie Pod can fit into a smaller area and may be easier to install in venues with tighter access. It can also support quick participation and digital content.
A 360 video booth needs clear operating space and room for spectators. It is best suited to venues where it can run without interfering with the main guest routes.
A handcrafted or open-style booth can complement barns, historic venues and carefully styled receptions while allowing larger group photographs.
Couples can compare the available options on our wedding photo booth hire page.
Plan the print and guestbook area
If the package includes instant prints, decide where guests will collect them. The collection point should not block the photography area.
A wedding guestbook requires a separate surface with enough room for guests to add their photographs and write messages.
Ask who will provide:
- the guestbook;
- pens or markers;
- adhesive for the prints;
- the table; and
- any additional lighting.
Position the guestbook close to the booth so guests understand the connection. However, leave enough distance to prevent congestion.
Confirm venue documents and insurance requirements
Many wedding venues require suppliers to provide documentation before the event. The exact requirements vary between venues.
They may request:
- public liability insurance;
- risk assessments;
- method statements;
- electrical testing information;
- supplier contact details; and
- vehicle or loading information.
Ask for the deadline and send the venue’s requirements to the supplier. This prevents access problems on the wedding day.
Final wedding photo booth venue checklist
Before confirming the booking, make sure you know:
- the exact booth position;
- the available floor space;
- the complete installation route;
- the nearest suitable power supply;
- the setup and collection times;
- the operating schedule;
- the flooring and weather arrangements;
- the required backdrop;
- the print and guestbook location;
- the venue’s supplier rules; and
- the documents required before the event.
Gatwick Sound Photo Booth provides hosted wedding booth experiences across London, Sussex, Surrey and Kent. We can work with couples and venues to confirm access, setup, placement and operating requirements before the day.
To discuss your wedding venue and suitable booth options, Get a Quote.