
Selfie Pod Party Setup: Placement, Timing and Guest Flow
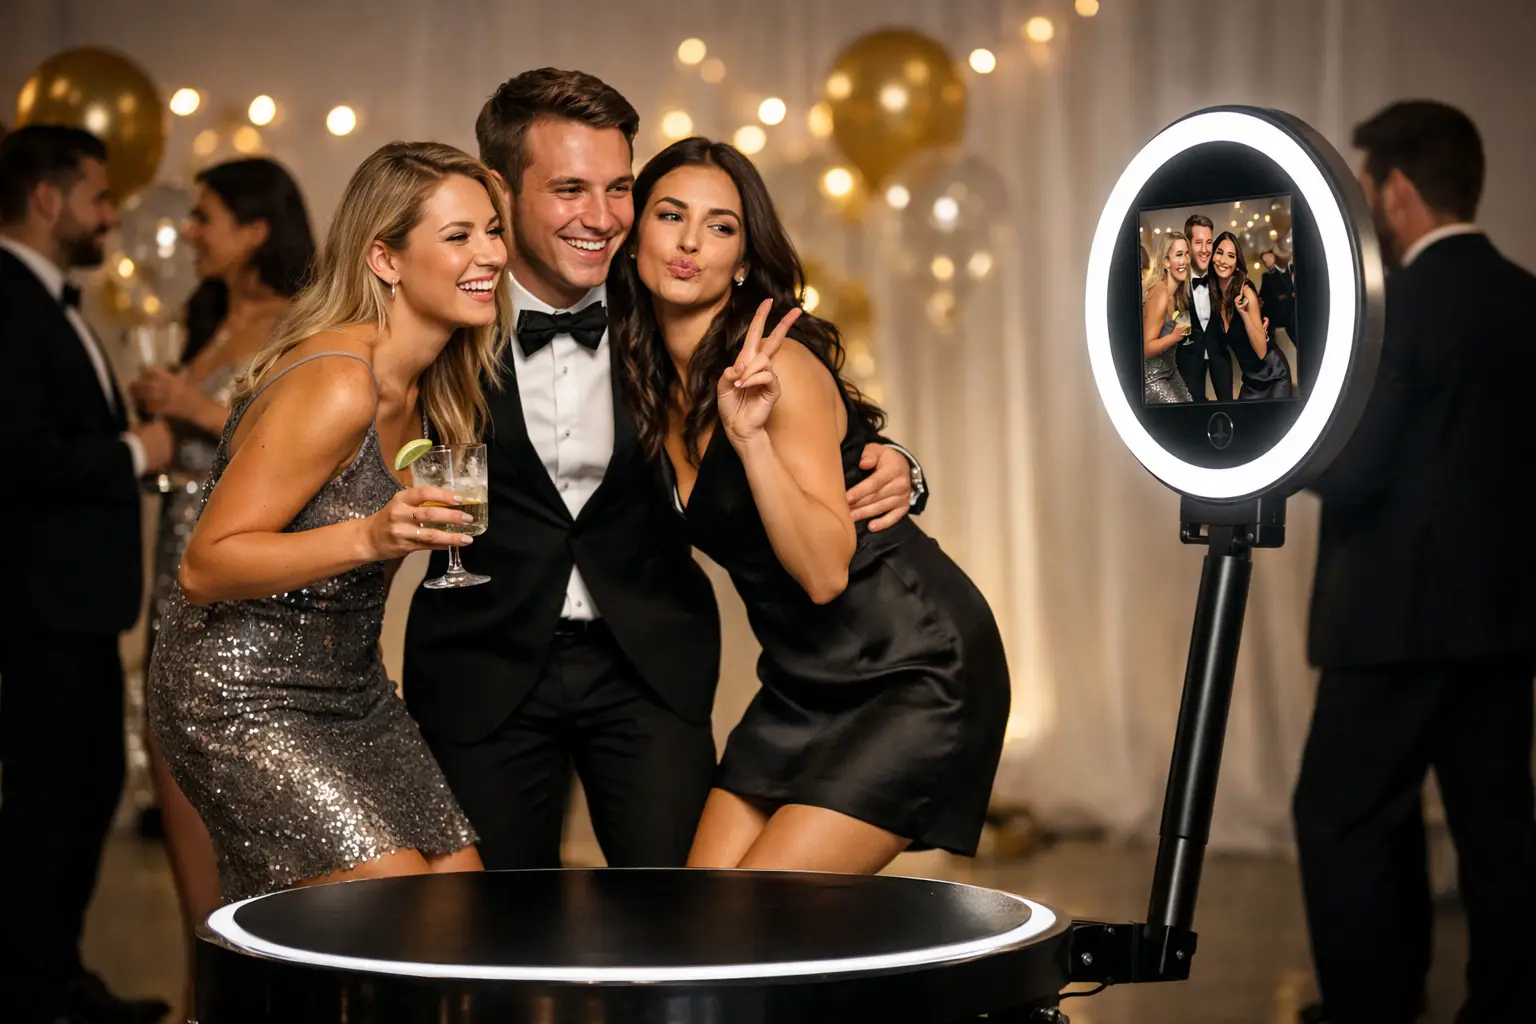
A Selfie Pod can remain busy throughout a party or sit unnoticed in the corner. The difference often comes down to placement, timing and the way guests move around the venue.
The pod has a relatively compact footprint, but it still needs enough room for groups, a suitable background and a clear route for guests entering and leaving the setup.
This guide explains how to plan a selfie pod party setup that remains visible, easy to use and connected with the event.
How much space does a Selfie Pod need?
The pod itself uses less floor space than a full-size Magic Mirror or 360 booth. However, the complete setup includes more than the equipment.
Allow room for:
- the Selfie Pod;
- guests posing in front of it;
- a physical backdrop where included;
- lighting equipment;
- an attendant where included;
- people waiting for their turn; and
- guests leaving after completing the session.
The exact space depends on the package and group size. Share a photograph or floor plan with the supplier if the proposed area is restricted.
Place the pod where guests can see it
A pod hidden in a separate room or behind furniture may be overlooked. Guests are more likely to participate when they can see other people using it.
A suitable position is usually close to the main party activity without sitting directly inside it. The booth should remain visible from a bar, lounge or dance floor area while retaining enough space for photographs.
Avoid positioning the pod:
- behind a closed door;
- at the end of an unused corridor;
- directly beside a loud speaker;
- inside the bar queue;
- along a catering route;
- in front of an entrance or fire exit; or
- where guests will walk through the photographs.
Use natural guest movement
Look at how guests will travel through the venue. The best position often sits near a route they already use rather than requiring them to search for the booth.
This might be:
- between the reception area and main party room;
- near the edge of the dance floor;
- close to a lounge or seating area;
- within a wide reception space; or
- near the entrance to an evening celebration.
The pod should not create an obstacle. Guests need to be able to stop and participate while other people continue moving through the venue.
Allow enough posing distance
The camera needs sufficient distance to frame individuals and groups correctly. Placing the pod too close to a wall or backdrop can restrict the composition.
Ask the supplier how many guests can fit comfortably into one photograph. If large friendship or family groups are expected, the posing area may need more width than the pod itself suggests.
Marking a loose posing position can help guests stand in the correct area without making the setup feel formal.
Choose the backdrop carefully
A Selfie Pod can operate with a physical backdrop, a suitable venue background or digital effects. The correct option depends on the event and available space.
A physical backdrop provides a consistent appearance but increases the setup footprint. It must also be positioned securely without blocking doors, signs or venue equipment.
A venue wall can work when it is visually clean and well lit. Check for:
- emergency signs;
- light switches and sockets;
- visible cables;
- doors opening into the area;
- reflective surfaces; and
- people walking behind guests.
AI background replacement can provide different themed scenes without requiring several physical backdrops. This can be useful when floor space is limited or the event needs multiple visual options.
Check the lighting conditions
Consistent lighting helps the pod produce clearer and more flattering photographs. Existing venue lighting may change during the party, particularly when DJs or lighting teams begin using coloured effects.
Avoid placing the pod where:
- direct sunlight moves across the posing area;
- strong spotlights point into the camera;
- coloured lights constantly change the appearance of guests;
- the background is much brighter than the subjects; or
- the area becomes too dark later in the evening.
The supplier should test the final position after the event lighting has been activated where possible.
Confirm the power supply
The pod and any additional lighting need access to a suitable power connection. The supplier should confirm the requirements for the selected setup.
Ideally, the power point should be close enough to avoid running cables across guest routes. Any required cables should be secured and kept clear of entrances, queues and posing areas.
Ask the venue whether nearby sockets are reserved for catering, DJ equipment or other suppliers.
Test the internet connection
A Selfie Pod can normally continue capturing photographs when the internet connection is interrupted. However, immediate digital delivery may require Wi-Fi or mobile data.
Test the connection in the exact booth position. Venue Wi-Fi that works near reception may be unreliable inside a ballroom, marquee or lower-floor function room.
Ask the supplier:
- which sharing methods are available;
- whether venue Wi-Fi is required;
- whether mobile data can be used;
- what happens when the connection fails; and
- whether delivery requests remain queued.
The guide to a photo booth with digital sharing explains email, text, QR code and gallery delivery in more detail.
Open the pod at the right time
A Selfie Pod can be available for most of an event, but the strongest participation usually begins when guests have arrived and settled into the venue.
At a wedding, the pod may open after dinner or during the transition to the evening reception. At a birthday party, it can operate earlier if guests need an immediate activity.
For a corporate event, it may work during arrivals, conference breaks or after the formal programme.
Avoid actively encouraging booth use during:
- speeches;
- awards;
- formal announcements;
- the first dance;
- a live performance; or
- another scheduled focal point.
Make the instructions clear
Guests should understand the booth within a few seconds. The start screen should provide a clear invitation, while the following prompts should explain when to pose and how content will be delivered.
Avoid long instructions or too many choices. Complex menus reduce the number of guests who complete the process and can create queues.
Useful screen information may include:
- where to tap to begin;
- how many photographs will be taken;
- when the countdown starts;
- which filters are available; and
- how to receive the finished image.
Use filters and effects selectively
LumaBooth filters, digital overlays and AI backgrounds can personalise the experience. However, too many options may slow the session.
Choose a small number of effects suited to the event. A birthday party may use playful filters, while a corporate setup may need cleaner content and approved branding.
Test every option before the event to confirm that:
- faces remain clear;
- logos are positioned correctly;
- text is readable on mobile screens;
- background replacement works with the expected clothing; and
- the complete sequence remains quick to use.
Consider whether an attendant is needed
An attendant can increase participation by introducing the pod and helping guests receive their content. They can also prevent the sharing screen from becoming a bottleneck.
Hosted operation is particularly useful when:
- the guest list includes mixed age groups;
- digital sharing is important;
- AI backgrounds or several filters are available;
- the venue is busy;
- the pod uses a physical backdrop; or
- the event requires branded content.
For a simple, smaller event, another operating arrangement may be suitable. Confirm what supervision and support are included in the package.
Plan the queue without creating congestion
A compact booth can still create a large waiting group. The queue should form beside the posing area rather than directly behind guests or across a walkway.
The attendant can prepare the next group while the current session is being completed. Guests receiving digital content should move away from the posing position where possible.
If the event has a large audience, consider extending the operating time rather than adding complicated options that slow each session.
Coordinate the pod with the DJ
A Selfie Pod can work well alongside DJ entertainment because it provides an alternative to dancing. However, the two setups need enough separation.
Do not place the pod directly in front of speakers or lighting equipment. Guests need to hear the instructions, while the DJ needs a clear view of the dance floor.
Sharing the complete room plan and running order allows both services to work around speeches, announcements and important music moments.
Personalise the setup
The photographs can include names, dates, event colours or corporate branding. Screen graphics and the online gallery may also be customised.
Keep the design simple enough for the guests to remain the main subject. Large logos and long messages can reduce the usable image area.
Approve every design before the event and check it on a mobile screen as well as a computer.
Final Selfie Pod setup checklist
Before the event, confirm:
- the final booth position;
- posing and queue space;
- backdrop requirements;
- power access;
- internet availability;
- operating times;
- available filters and effects;
- digital delivery methods;
- whether an attendant is included; and
- setup and collection access.
Make the pod part of the party
A successful Selfie Pod setup should be visible, simple to use and positioned around natural guest movement. The compact equipment is only one part of the experience; lighting, instructions, digital delivery and queue space also matter.
Gatwick Sound Photo Booth provides Selfie Pod hire for weddings, birthdays, proms and corporate events across London, Sussex, Surrey and Kent.
To discuss your venue, preferred setup and digital features, get a custom quote.