
Red Carpet Photo Booth Setup That Guests Will Love
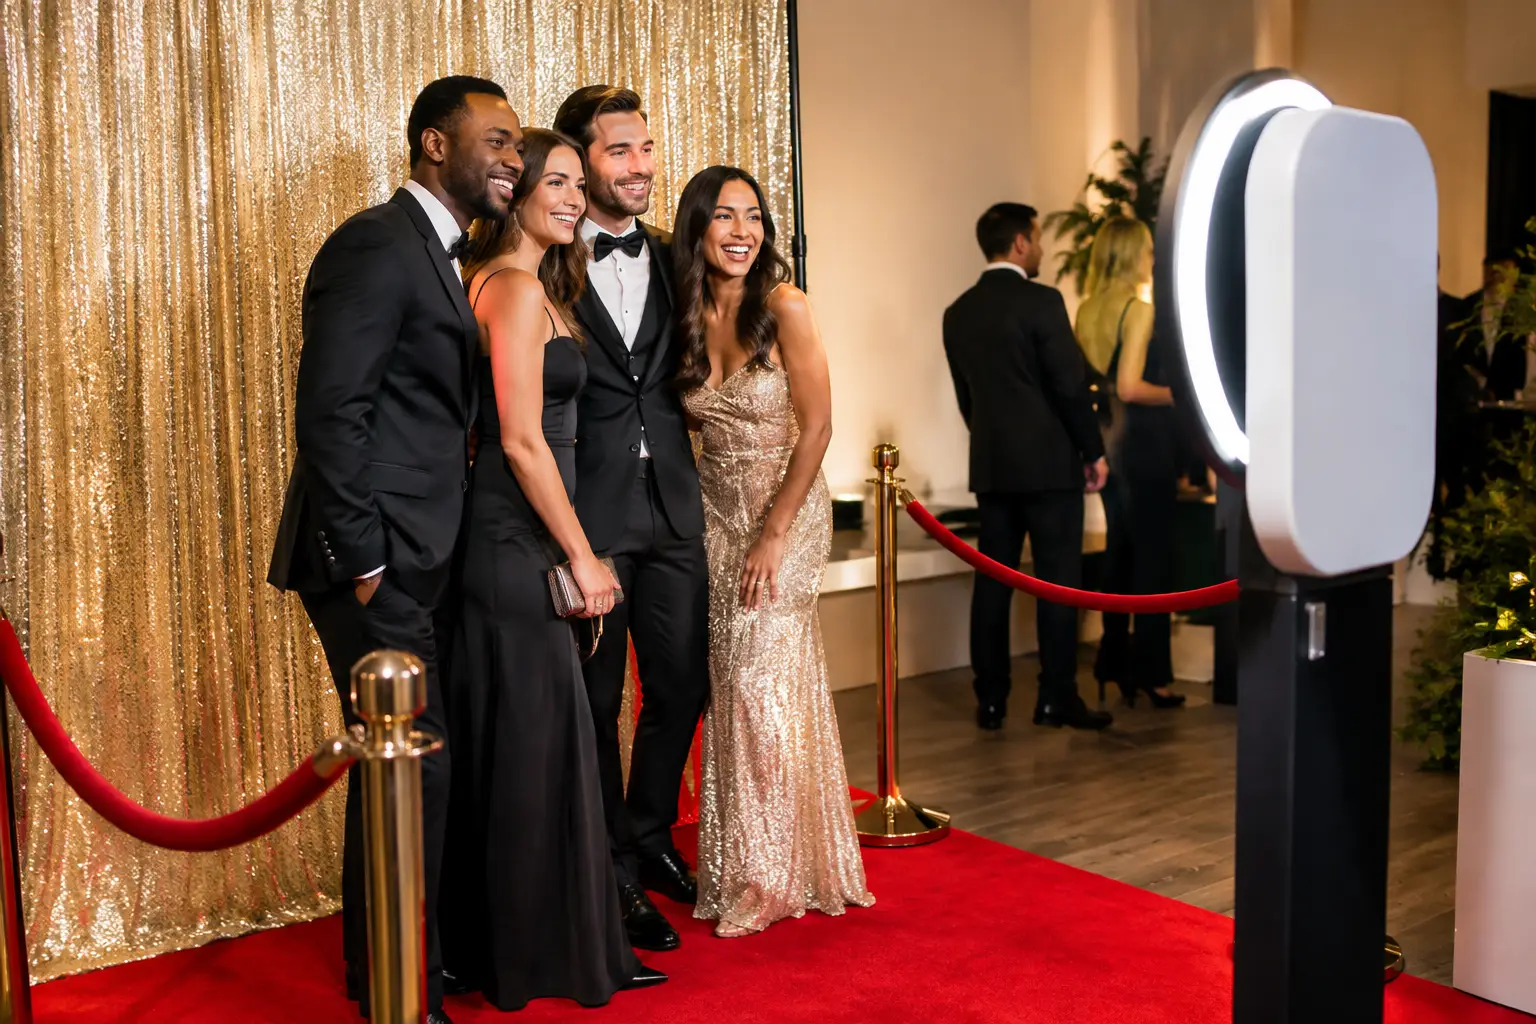
A red carpet photo booth setup gives guests a welcoming place to stop, pose and enjoy their moment in front of the camera. It can create an elegant arrival experience at an awards evening, a lively feature at a prom or a stylish photo area at a wedding.
The carpet helps draw attention to the experience. However, the layout around it matters just as much. Guests need to understand where to stand, how to join and where to go once their photographs are ready.
With a suitable booth, thoughtful presentation and a clear guest route, the photo area can feel like a natural part of the celebration.
Decide How Guests Will Use the Red Carpet
Start by deciding whether the booth will mainly capture arrivals or remain an activity throughout the event. These two approaches need different planning.
At a prom or awards evening, guests may want a photograph as soon as they arrive. In this case, the photo area should be easy to find without holding up the entrance, registration desk or cloakroom.
For a wedding or birthday party, guests are more likely to return in different groups during the evening. The booth therefore needs a position that remains visible and convenient after the welcome drinks have finished.
Explain your plans to the supplier before choosing the location. If you want arrival photographs followed by evening sessions, agree on operating times and a position that can serve both. Moving a fully installed booth during the event should not be assumed.
Choose a Position That Invites People In
A red carpet creates a visual invitation, but guests still need somewhere to gather without obstructing the room.
Look for a position near the celebration, with enough space for people to approach, pose and leave comfortably. Avoid placing the queue across a doorway, beside a busy bar or on a route used by catering staff.
The carpet should lead towards the photo position rather than through the middle of the waiting area. Meanwhile, any rope barriers should make the approach clearer without restricting access.
Ask the supplier to confirm the complete footprint. This includes the booth, backdrop, carpet, barriers and any printer or sharing station. The equipment itself is only one part of the space needed.
A venue photograph or simple floor plan can help everyone agree on a workable layout before the event.
Match the Booth to the Presentation
The booth should suit both the red carpet styling and the venue.
A Magic Mirror photo booth creates a recognisable focal point for guests. Its full-length mirror appearance works particularly well with formal outfits and an awards-style presentation.
For a smaller room, a Selfie Pod may offer a more compact alternative. However, guests still need room to stand back, pose together and move around the photo area. A smaller booth does not remove the need to plan the surrounding space.
A Retro Mirror or the Everybooth ICON can also suit a carefully styled event. The choice depends on whether you want a glamorous, vintage-inspired or understated look.
Share your preferred style with the supplier, along with the venue details. Also confirm which accessories are included. A red carpet, rope barriers, backdrop and personalised prints should be checked against the chosen package rather than assumed.
Give the Photographs a Clear Background
The backdrop will appear in every photograph, so consider how it looks through the camera as well as in the room.
For weddings, a simple background can complement the flowers, outfits and venue décor. It does not need to repeat every detail of the table styling.
At proms, a stronger colour or themed background can help establish the occasion. Leave enough clear space around guests so that groups do not cover the main design.
For awards evenings and company celebrations, branding should remain readable behind people. Logos placed only in the centre may disappear when a group steps into position.
If you are planning a corporate photo booth experience, discuss the backdrop, screen graphics and print design together. They can follow the same visual style while serving different purposes.
A physical backdrop and a digital background are different options. Confirm which approach is being supplied and how it will look in the finished photographs.
Plan the Carpet and Barriers Around Real Use
The red carpet should help guests find their position without becoming an obstacle.
Agree on where people will stand for their photograph. This allows the supplier to position the camera, lighting and backdrop around the intended shot.
Then consider what happens when several friends arrive together. They need space to gather without standing in front of the camera or blocking guests who have finished.
Keep the carpet flat and have its edges managed appropriately by the installation team. Barrier bases should also sit outside the posing area and essential walking routes.
Finally, make sure the layout works for guests with different access needs. A narrow opening between ropes may look tidy in an empty room but become awkward during a busy event.
Keep Props and Photo Collection Out of the Way
A small, well-chosen selection of props can encourage guests to join in. Too many items spread around the photo position can make the area harder to use.
Place props where guests can choose them before stepping forward. After their session, they should be able to return the props and collect their photographs without crossing the next group.
Printed photographs give guests something to take home. Digital sharing offers another way to keep the image, depending on the booth package and available sharing options.
For a busy event, ask whether a separate sharing station would be useful. It can give guests somewhere to download or send their photographs while the next session takes place.
Confirm print quantities, sharing methods and any guestbook arrangements before the event. These details influence how people move through the experience.
Choose Operating Times Around the Programme
The most useful opening time depends on when guests are ready to participate.
At a prom, an early session can capture outfits and friendship groups before the main entertainment begins. At an awards evening, arrival photographs may work well before guests take their seats.
For weddings, an evening session can bring together guests who have spent the day in different groups. However, the booth should not compete with speeches, the first dance or another moment that needs everyone’s attention.
Discuss the programme with your supplier and venue team. A host can help guests understand the booth, organise groups and keep the experience moving during busier periods.
Installation should also have its own agreed window. The supplier needs time to bring in the equipment, arrange the carpet and lighting, test the photographs and prepare the area before guests use it.
What to Include in Your Red Carpet Booth Brief
A clear brief makes it easier to recommend a suitable setup. Include:
- Your event date, venue and type of celebration.
- The expected guest numbers.
- Whether photographs are mainly for arrivals or the evening.
- Photographs or a floor plan of the proposed space.
- Your preferred booth style and backdrop.
- Any branding or personalised print requirements.
- Whether you want prints, digital sharing or both.
- Venue access details and the available setup time.
- Any accessibility requirements that affect the layout.
You do not need to design the whole installation yourself. These details give the supplier a practical starting point and help identify questions that need answering.
Plan Your Red Carpet Photo Experience
A successful red carpet photo booth setup feels welcoming from the first approach to the finished photograph. Guests can see where to go, enjoy their session and leave with a memory of the occasion.
Gatwick Sound Photo Booth provides event photo experiences across London, Sussex, Surrey and Kent. Share your venue, event programme and preferred style so we can help you choose a suitable booth and presentation.
Get a Quote to discuss your red carpet photo booth setup.